
Applies to: Admins
Overview
Endear's CSV Importer Tool allows you to easily imports data from other places as long as it's in a spreadsheet. You can import customers, locations, products, product variants, staff members, purchases, purchase line items, and refunds.
The process involves three main steps:
This is technically optional, but we highly recommend reviewing the columns and using our templates
Step-by-Step Guide
Setup the CSV Importer
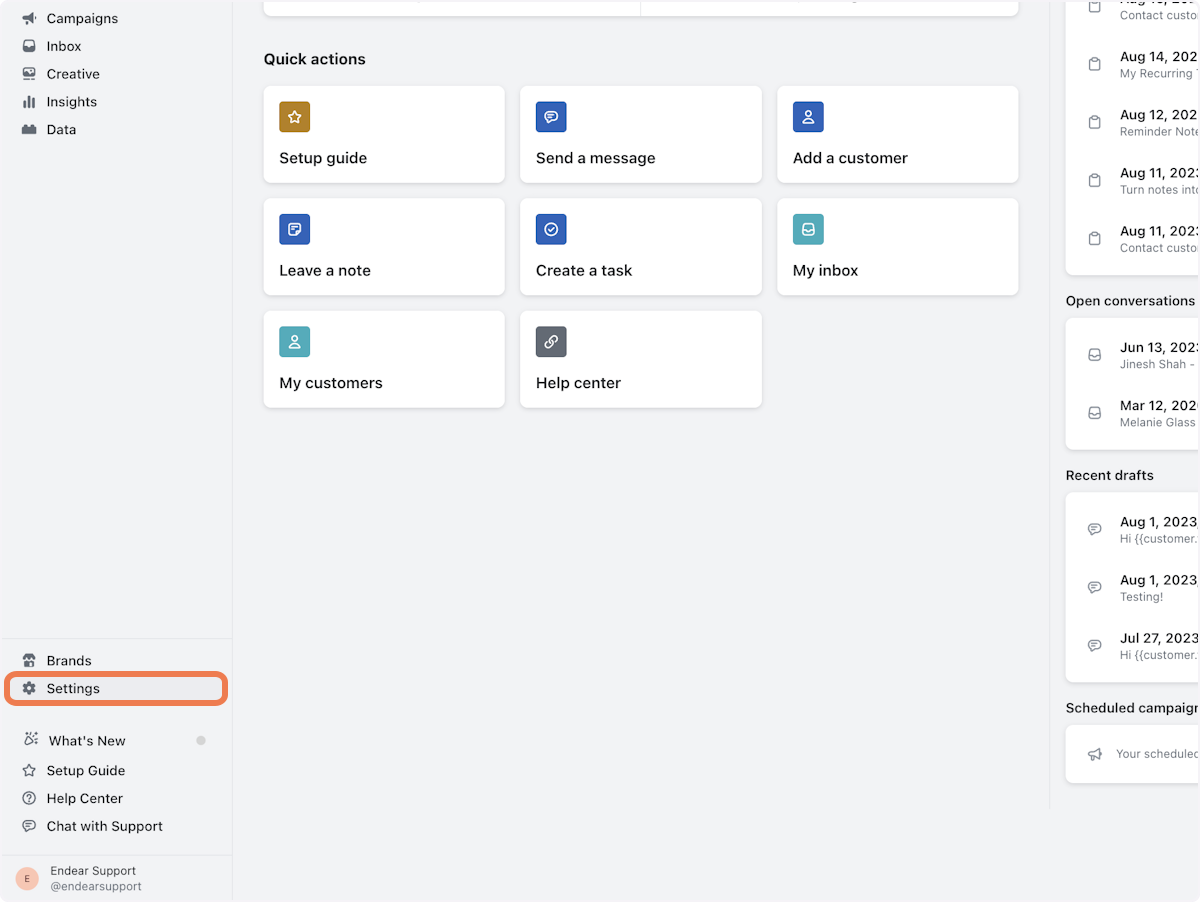
Select Settings

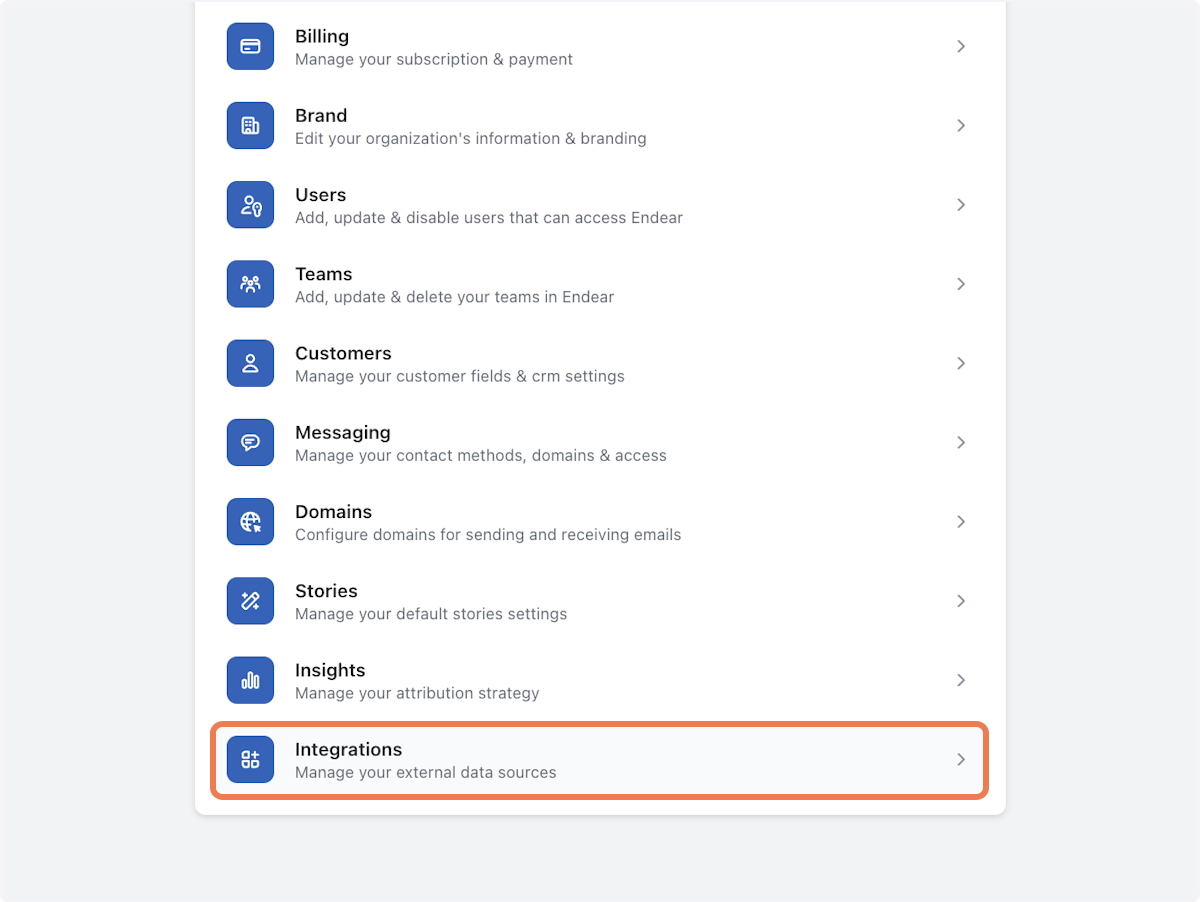
Select Integrations

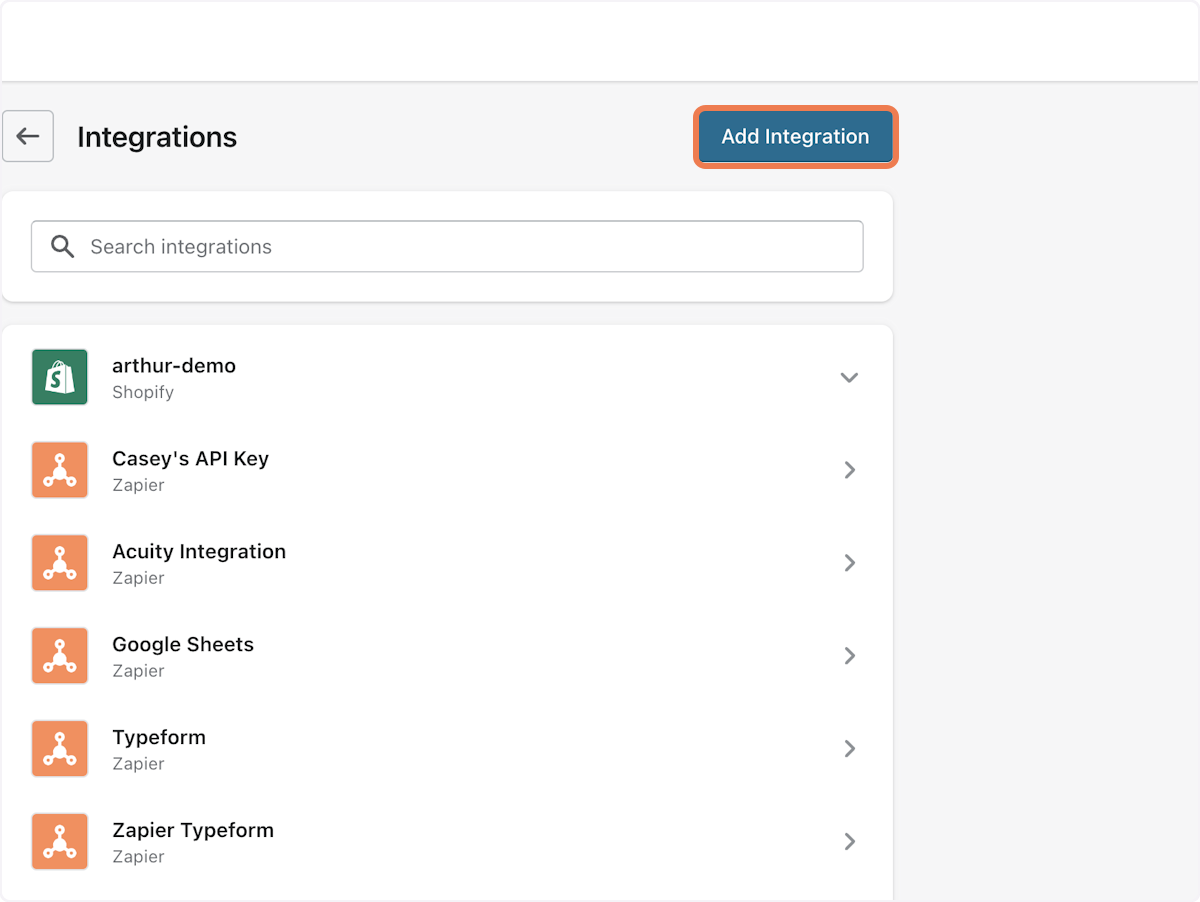
Select the Add Integration

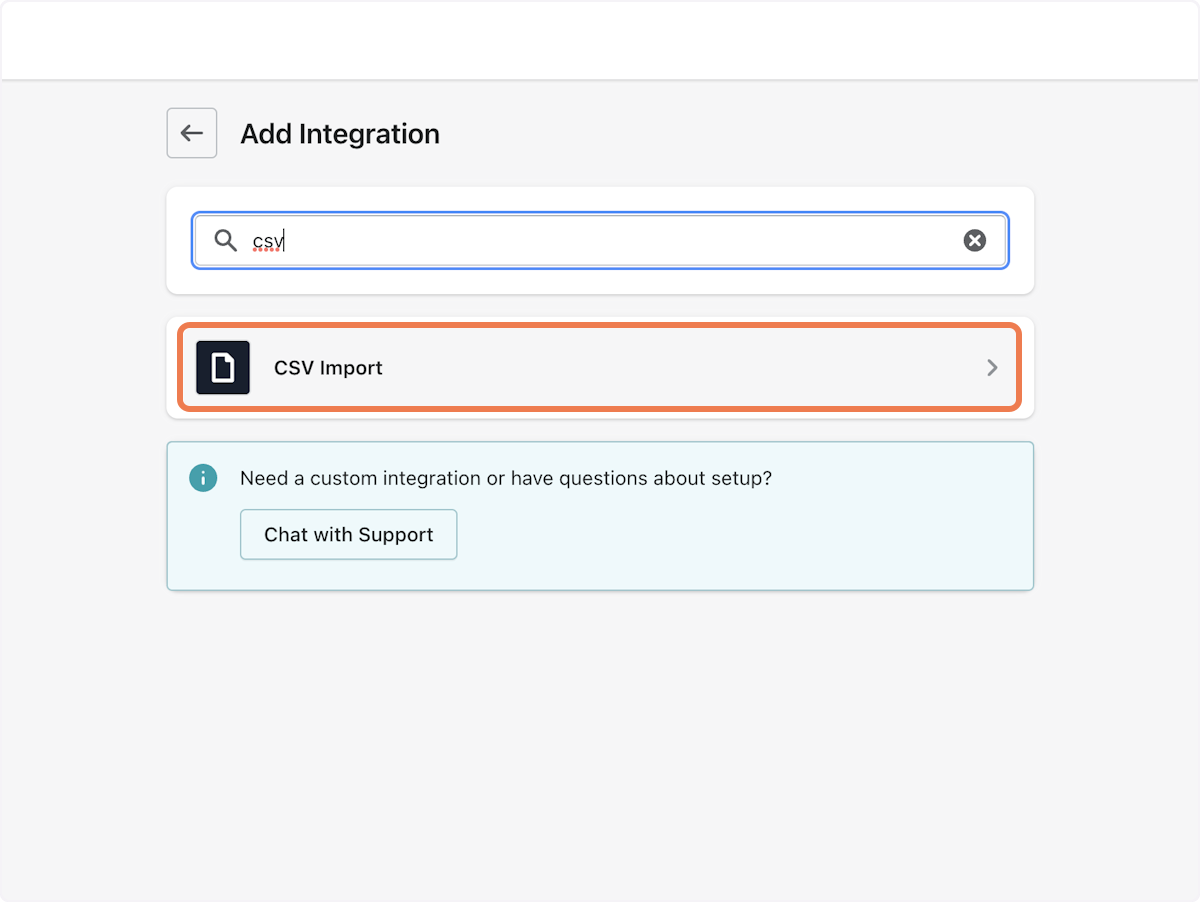
Search an select CSV Import

Name the CSV Integration and select Create


Formatting your CSV files
You can find the latest reference for all of our CSV importer files in our product documentation.
Submit your data
Select the import job you created
Go to Files, and select Upload file
This step is important. If you upload your files directly in a workbook, your data may not appear and you won't be prompted to map the fields.
Select the uploaded file and select Import
Select the corresponding sheet, and then select Continue
(Recommended) Map your incoming fields to the destination field. The system will automatically match fields when possible, especially if you've used our templates
Select Continue
Review and fix any errors that appear, then select Confirm & submit
Review the confirmation messages then select Confirm
From the Success message, select Back to Endear
Step-by-Step Guide
1. Click on Settings

2. Select Integrations

3. Click on the Importer Integration

4. Click on Import

5. Select + Create job

6. Click on Continue

7. Go to Files, and select Upload file
Important: Make sure you go to Files to upload. If you upload your files directly into a workbook sheet (i.e., Customers, Staff members, etc), your data may not appear and you won't be prompted to map the fields.

8. Select the uploaded file and select Import

9. Select the corresponding sheet, and then select Continue.

10. (Recommended) Map your incoming fields to the destination field. The system will automatically match fields when possible, especially if you've used our templates. Then select Continue.

11. Review and fix any errors that appear, then select Confirm & submit

12. Review the confirmation messages then select Confirm

13. From the success message, select Continue to upload more files to this import job or select Back to Endear
