
Applies to: All (Users, Managers, & Admins)
Table of Contents
Add a tag to an individual customer
Remove a tag from an individual customer
Add tags for multiple customers
Remove tags for multiple customers
1. Step 1. From the customer's main profile page, click the + Add button under the Tags section.

2. To create a new tag, simply type it into the search bar and the checkbox to select it will appear. Click new tag then select Save to add new tag.

3. From the drop-down menu, search and select, your New Tags

4. Click on Save

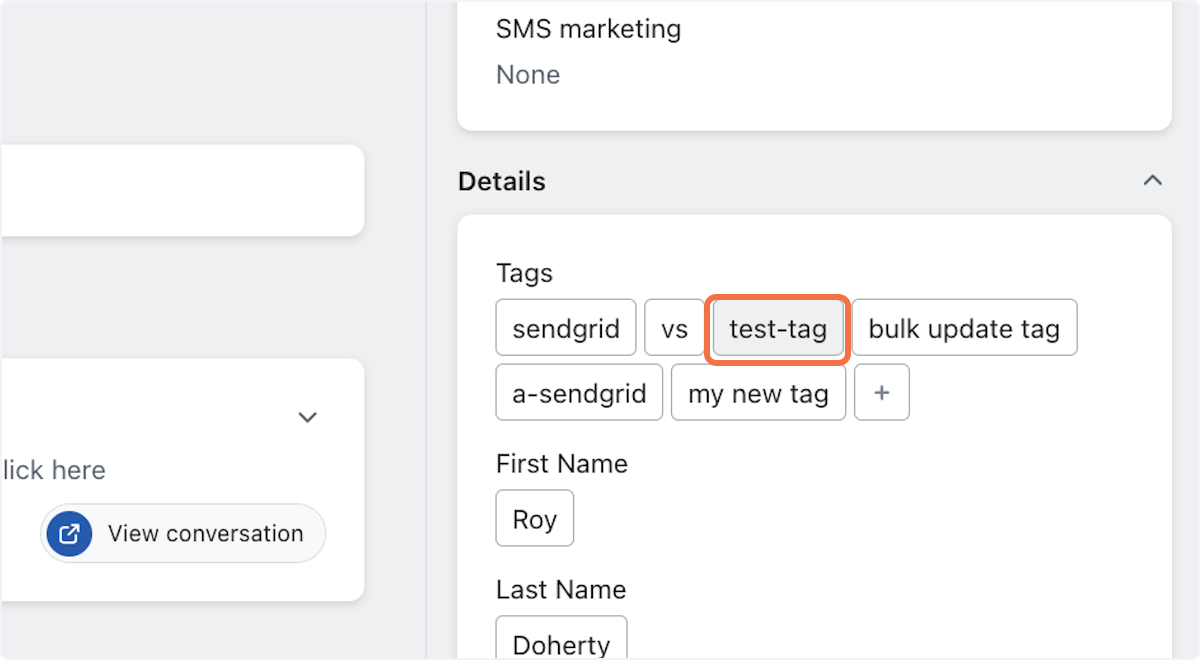
2. To remove a tag for an individual customer:
1. Click on the tag you'd like to remove
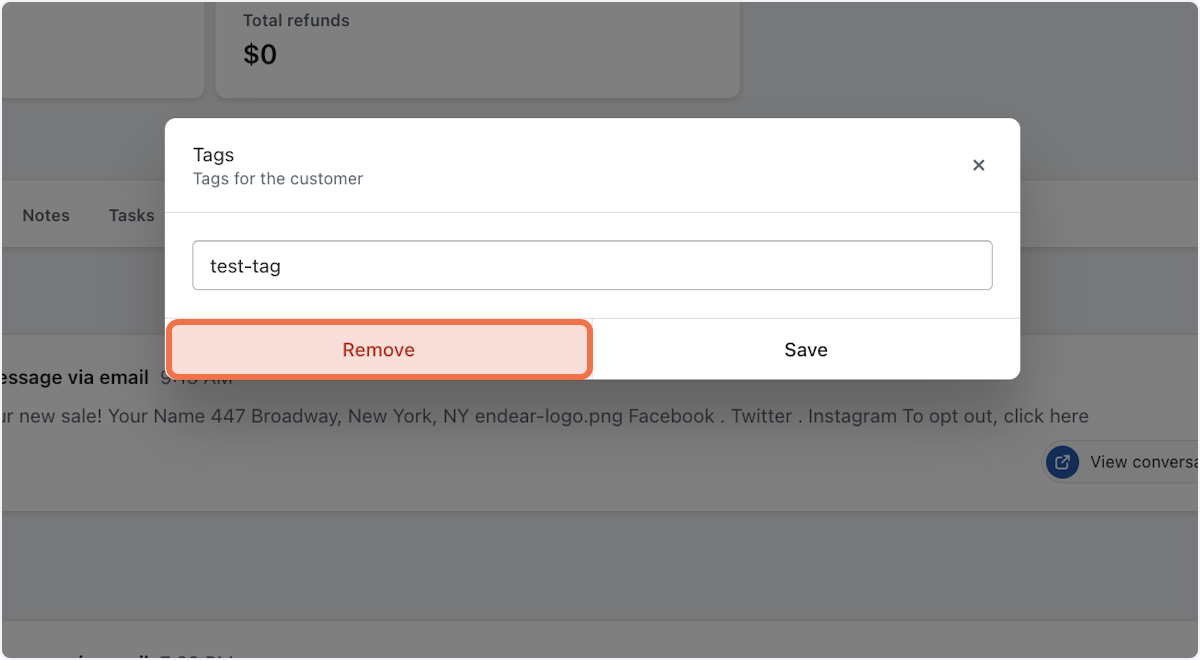
2. Click on Remove
3. To add a tag for multiple customers:
Step 1. Pull up an audience or create a filtered list of relevant customers. Select Bulk Edit

Step 2. Select Add Tags, then click Next

Step 3. Search, select, or add a new tag.

Step 4. To create a new tag, simply type it into the search bar and you will see the option to select it appear. You can select or create multiple tags from this menu. Click Save when complete.

Step 5. Confirm your tag changes. Click the checkbox to apply changes. Select Confirm to complete

4. To remove a tag for multiple customers:
Step 1. Pull up a saved audience or create a filtered list of relevant customers. Select Bulk Edit

Step 2. Select Remove Tags from the drop down.

Step 3. Search or select the tags you want to remove. Click Next

Step 4.Click Confirm when complete.

Put tags into action:
Still Need Help?
We are happy to assist you for more 1:1 direction. Reach out to our live chat!