
Applies to: Admins
Configure SalesChat visibility settings to determine when the widget is shown to customers on your website. You can also setup custom rules, so the widget is shown when customers meet specific conditions (e.g., cart amount is above a certain amount) or when a customer is on a specific page.
Note: If you have working hours set-up, these rules will only apply during those hours.
Overview of Editing the Default Visibility
Click "Settings", then "SalesChat"
Click "Visibility"
Edit the default Widget Status
Edit the default Required Contact Information
Click "Save"
Overview of Editing Custom Visibility Rules
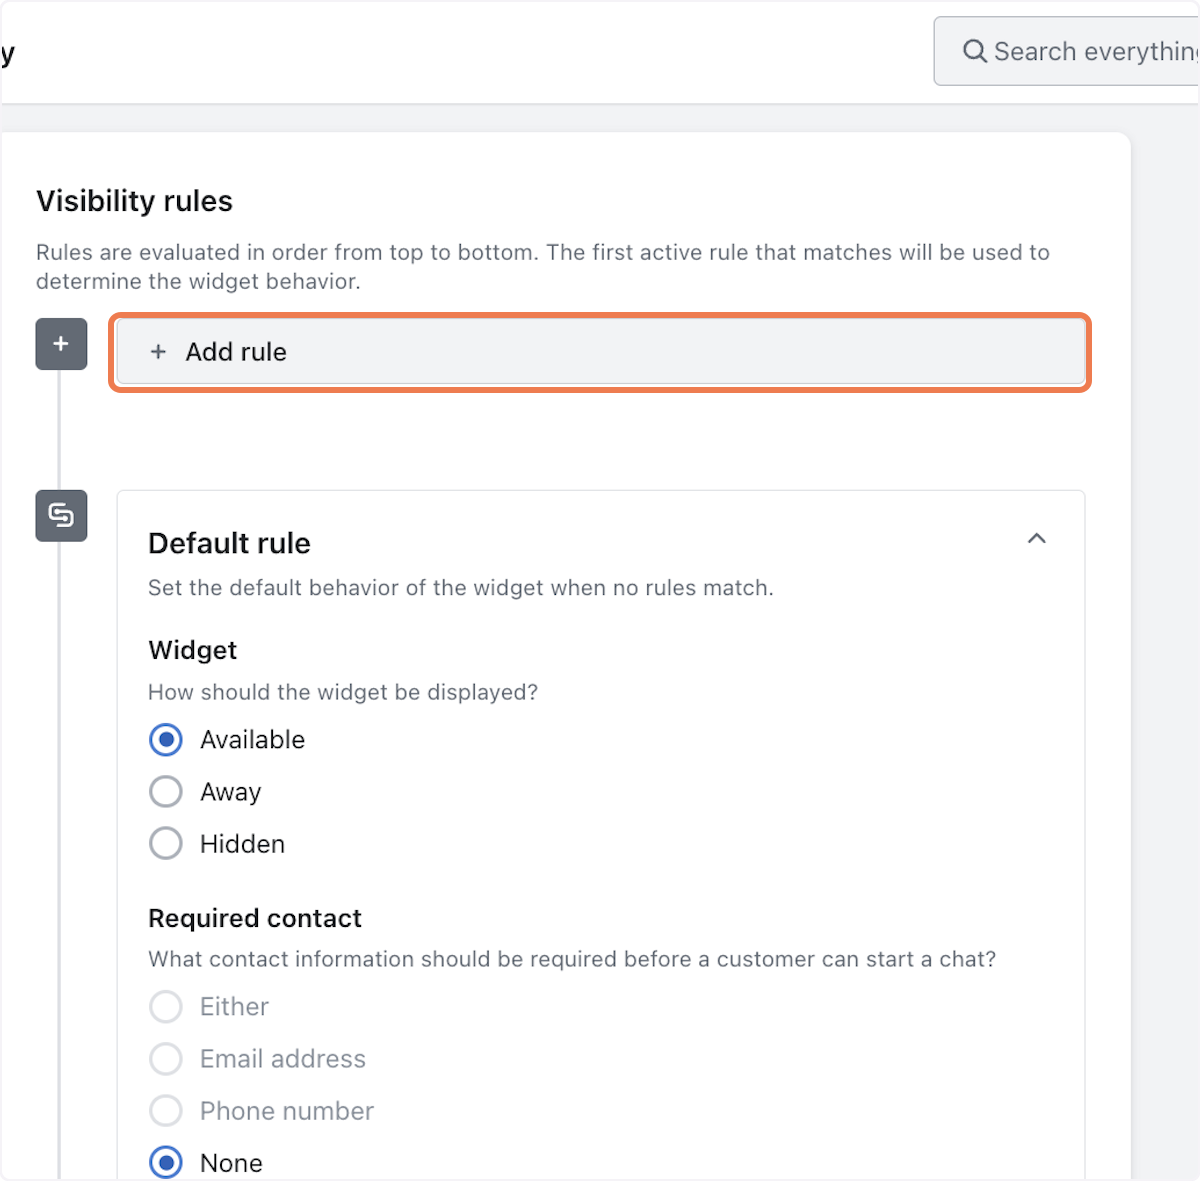
Click "Add Rule"
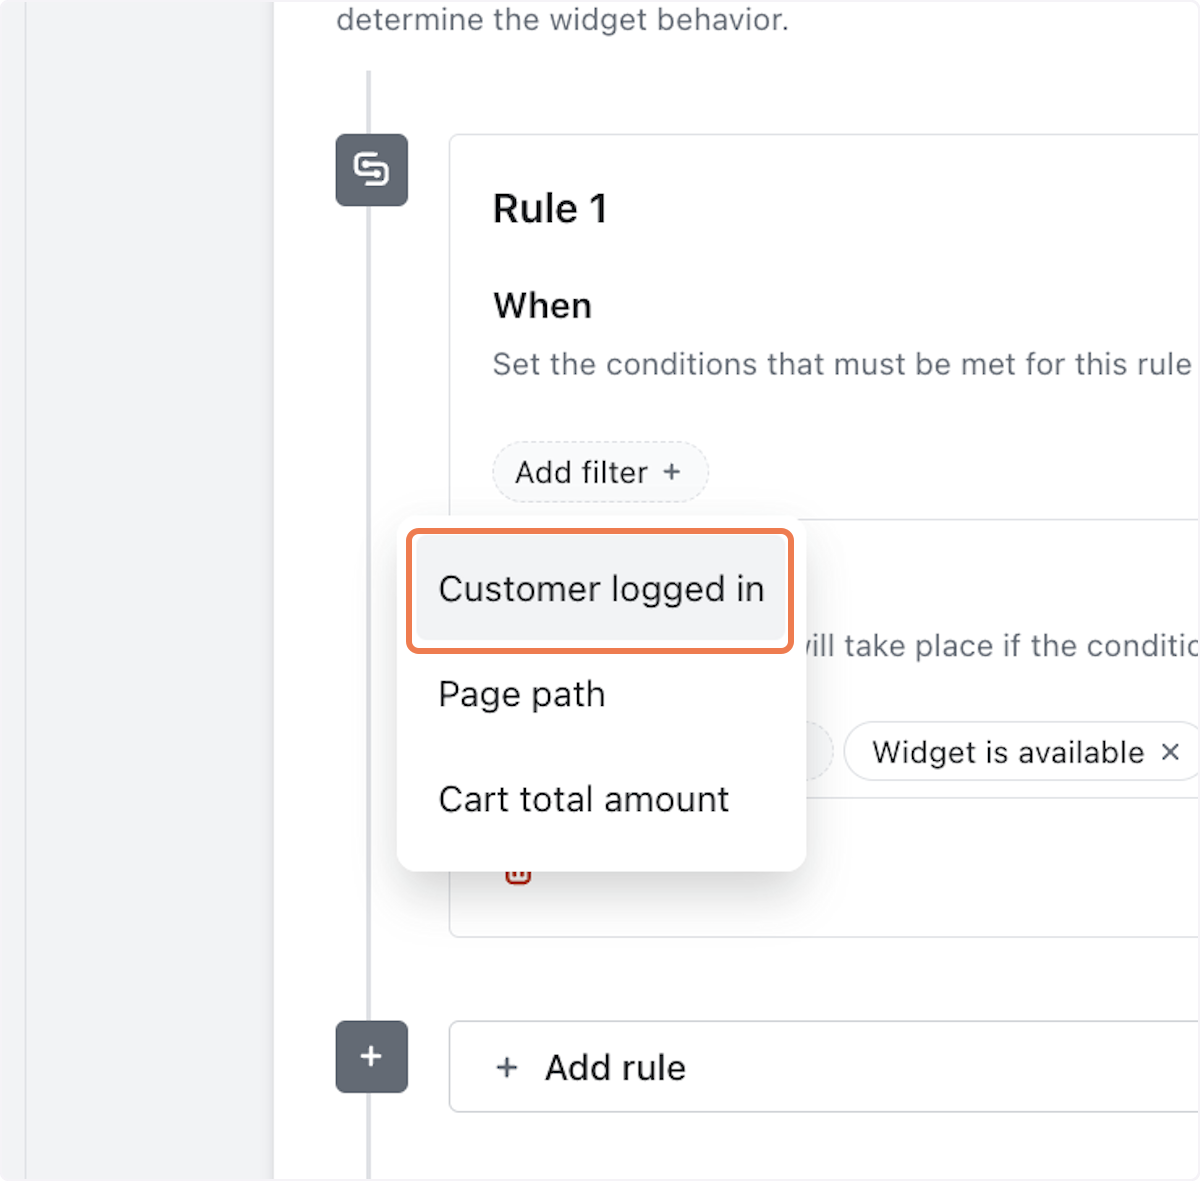
Click "Add filter" and select the customer condition that when met, the SalesChat widget will be shown
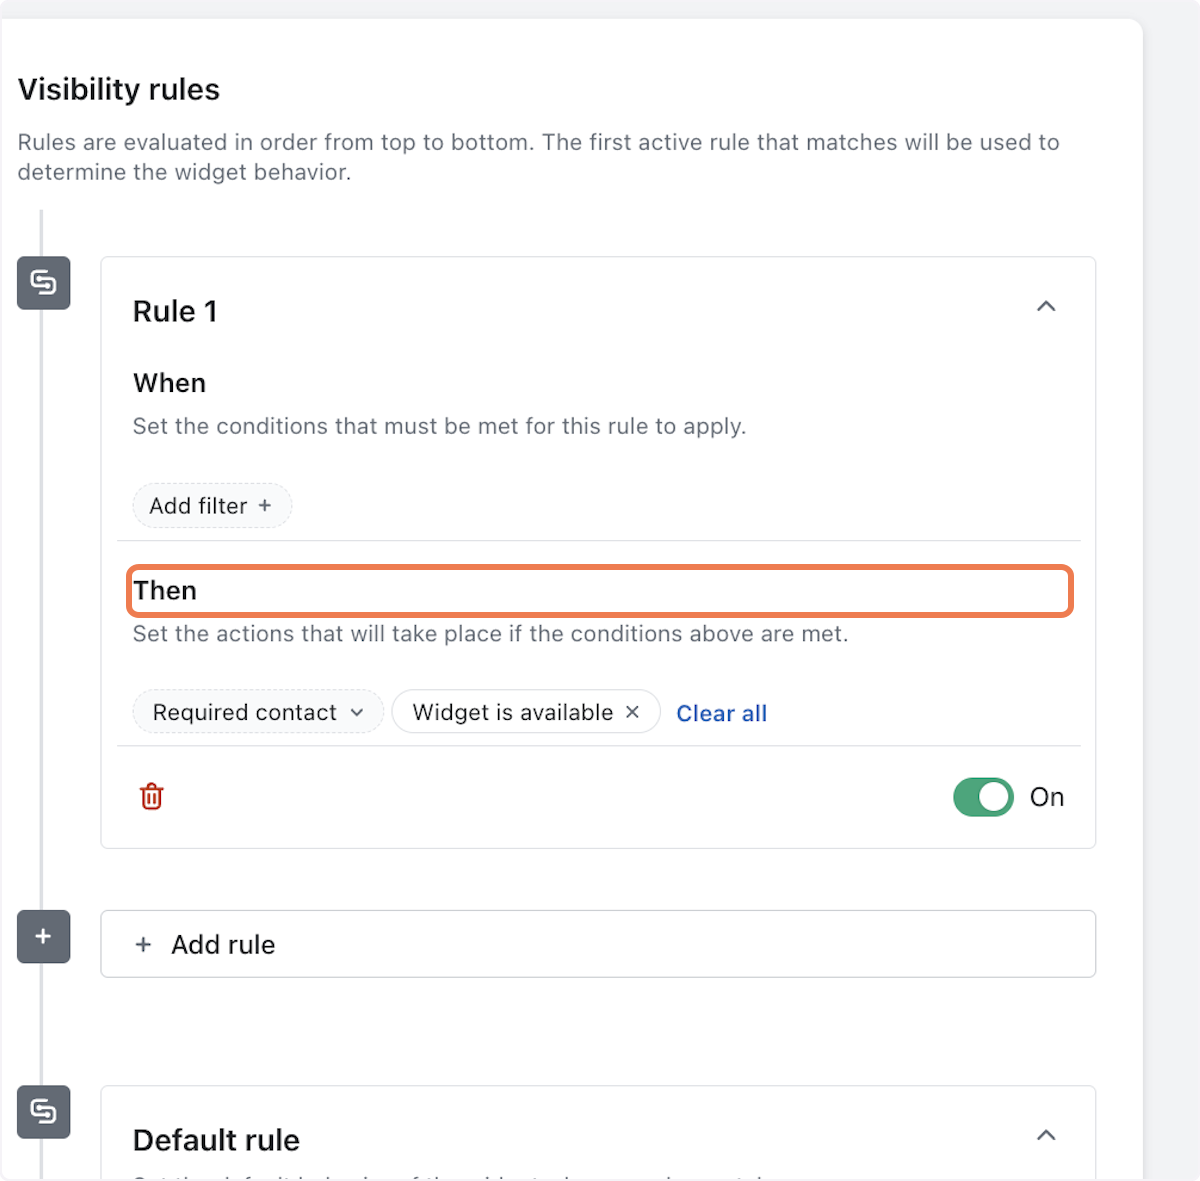
Click "Widget" to select the desired widget status and click "Required contact" to set the required contact information
Click "Save"
To remove a rule, click the red trash icon
Step-by-Step Guide: Editing the Default Visibility
1. Navigate to "Settings" then click "SalesChat".

2. Click "Visibility".

3. Select the default widget status. Learn about the 3 different options below. The default status is "Available".
Available: The widget will always appears on your site, creating a live chat experience.

Away: The widget will always appear on your site, but the experience is more akin to "leaving a message". If a team member is available, they can still respond right away in the chat. Otherwise, you can utilize default text to set expectations that responses may be delayed.

Hidden: If none of the rules above apply (or if you don't have any rules at all), the widget will not appear on your site.
4. Set the default "Required contact" setting.
Note: If you select the widget status to "Available", you cannot set a Required contact. This is intentional because when the widget is "Available", SalesChat will automatically request the customer's email address. See below for this experience.

5. Click "Save".

Step-by-Step Guide: Editing Custom Visibility Rules
Custom visibility rules give you the opportunity to provide SalesChat at key moments when a customer is browsing your website. These rules are always analyzed first, and if the conditions are met, the experience will override the Default Rule.
Examples of Custom Visibility Rules
Showing the widget if a customer's cart is over X amount
Showing the widget if a customer is on a specific product page.
Showing the widget if a customer is logged in
1. If you would like to create a custom Visibility Rule, click "+ Add Rule".
2. Click "Add filter" to select the desired condition.
3. Click "Widget" to set the status and click "Required Contact" to set the required contact information. Repeat this process for all desired visibility rules.
4. Click "Save".

5. To remove a rule, click the red trash icon.

Still Need Help?
We are happy to assist you for more 1:1 direction. Reach out to our live chat!