
Applies to: All
Overview
A campaign is a game-changing feature that allows you to automate messages (email & SMS) to go out based on your specifications. This article will guide you through:
Understanding campaign types (recurring vs. one-time)
Building your campaign step-by-step
Setting up senders and audience filters
Composing your message
Scheduling for optimal engagement
Best practices for timing your campaigns
What is a Campaign?
Campaigns automate messages that you and your team find yourselves frequently sending. With campaigns running behind the scenes, you have more time to focus on high-touch, specialized communication with your clients.
Ideal campaign use cases include:
Client birthdays
Thank you notes after purchases
Reconnecting with relapsed customers
Event invitations
New product releases
Who Can Create and Manage Campaigns?
Who can create and edit campaigns:
Users, Managers, and Admins
Who can set campaigns "Live" or "Paused":
Users: Can activate and pause one-time campaigns only, and only if they're both the creator and the sender in the "specific user" strategy
Managers: Can activate and pause one-time campaigns only, and only if they're either the creator or they're on the team it was created in
Admins: Can activate and pause all campaigns
How do I build a campaign?
Step-by-Step Guide
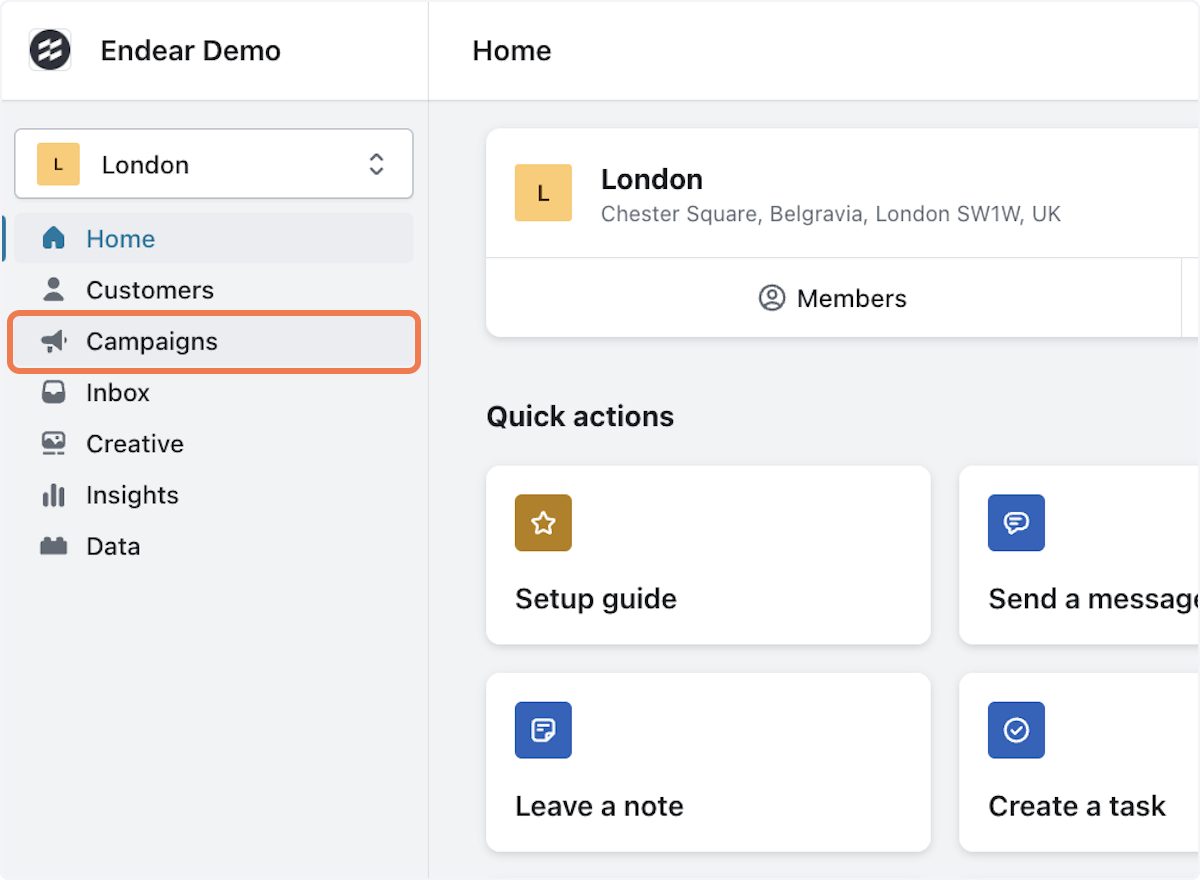
1. From the left-hand navigation, select Campaigns.
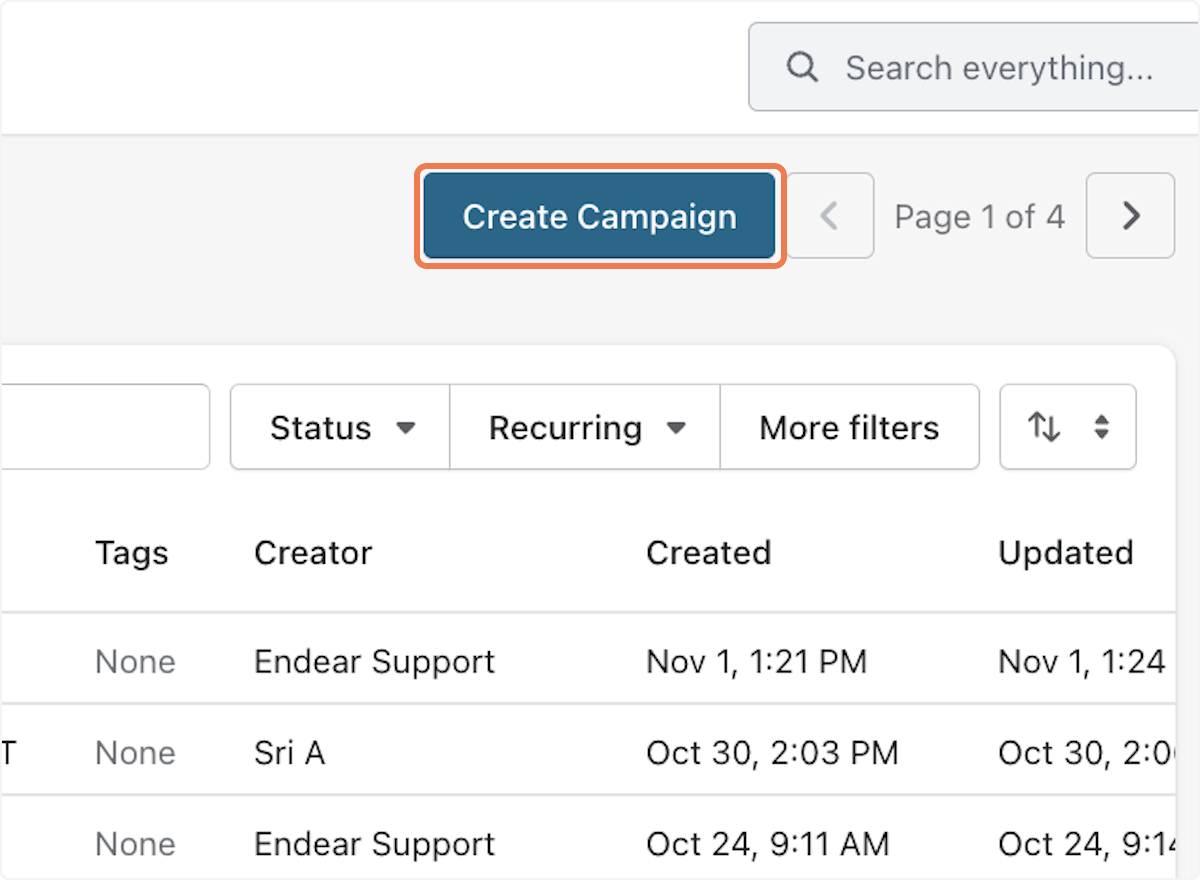
2. Select Create a campaign.
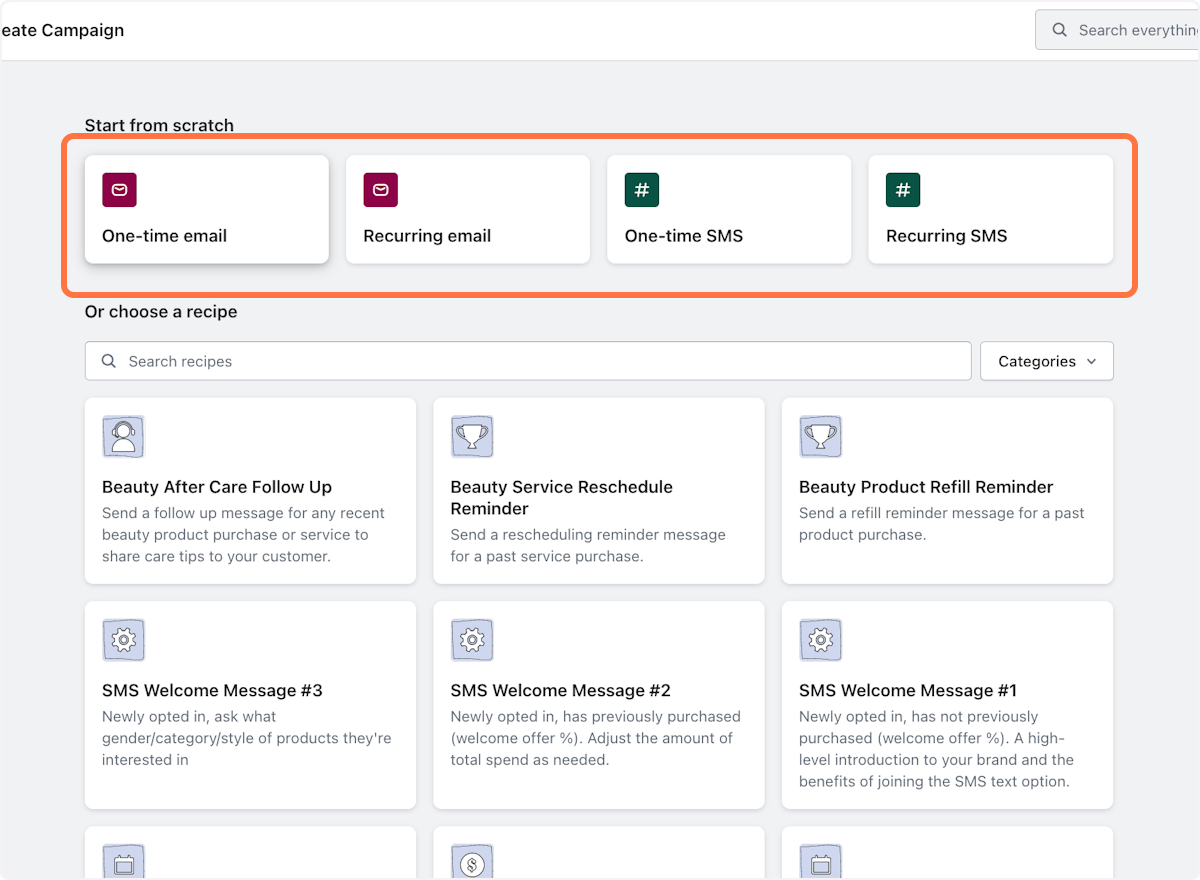
3. Select the type of message and campaign you want to send:
Recurring Campaign
Runs indefinitely (until paused)
Operates within a daily sending window you define
Customers may re-enter after a specified period
Examples: Thank you notes, lapsed customer outreach, birthday messages
One-time Campaign
Runs until recipient limit is reached or manually paused
Cannot be run again but can be duplicated
Examples: Events, new releases, seasonal promotions
Note: SMS has limited characters, so keep these campaigns brief!
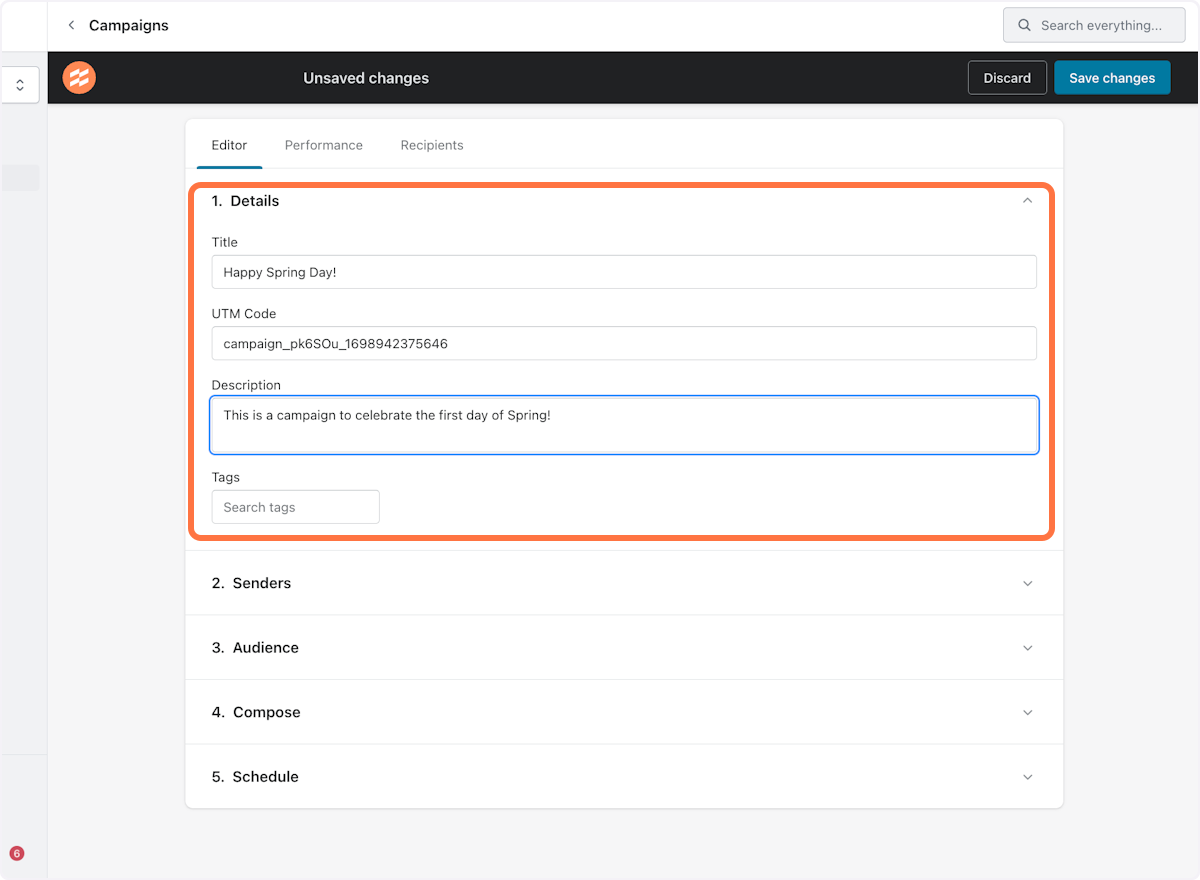
4. Complete campaign details.
Title: Name of the campaign
Description: Additional details explaining the campaign's purpose
Tags: Add tags for grouping and organizing campaigns
UTM tracking is automatically provided to track campaign performance separately.
5. Select Senders to define who the campaign will be sent by. You have multiple sender options:
A Specific Person: All messages sent from one specific User
One or more people: Multiple sender options with various assignment strategies
Endear also allows dynamic sender assignments so customers get the campaign message from someone that makes sense. Customers can be assigned to a sender based on a variety of criteria:
Team Closest to the Customer's Location: Requires a customer's postal code
First Order Location: Based on the customer's first purchase location
Last Order Location: Based on the customer's most recent purchase location
The Customer's Assigned User: Requires customers to have assigned Users
Round Robin: Random selection in a round-robin fashion
More details about each sender strategy can be found in the platform.

6. Create an audience based on a grouping of filters to pinpoint customer's you'd like to send the campaign to. Some filters cannot be changed in a campaign and are a requirement based on your Sender settings.
Click on Group
Choose your desired filters
Click Confirm

7. Set your subscription & suppression rules.
You can require recipients to be subscribed to marketing to send them a message
Include or exclude recipients that have previously been contacted in Endear or other integrations. To learn more about Endear's 24 hour automatic suppression rule, click here. To override this, click here.

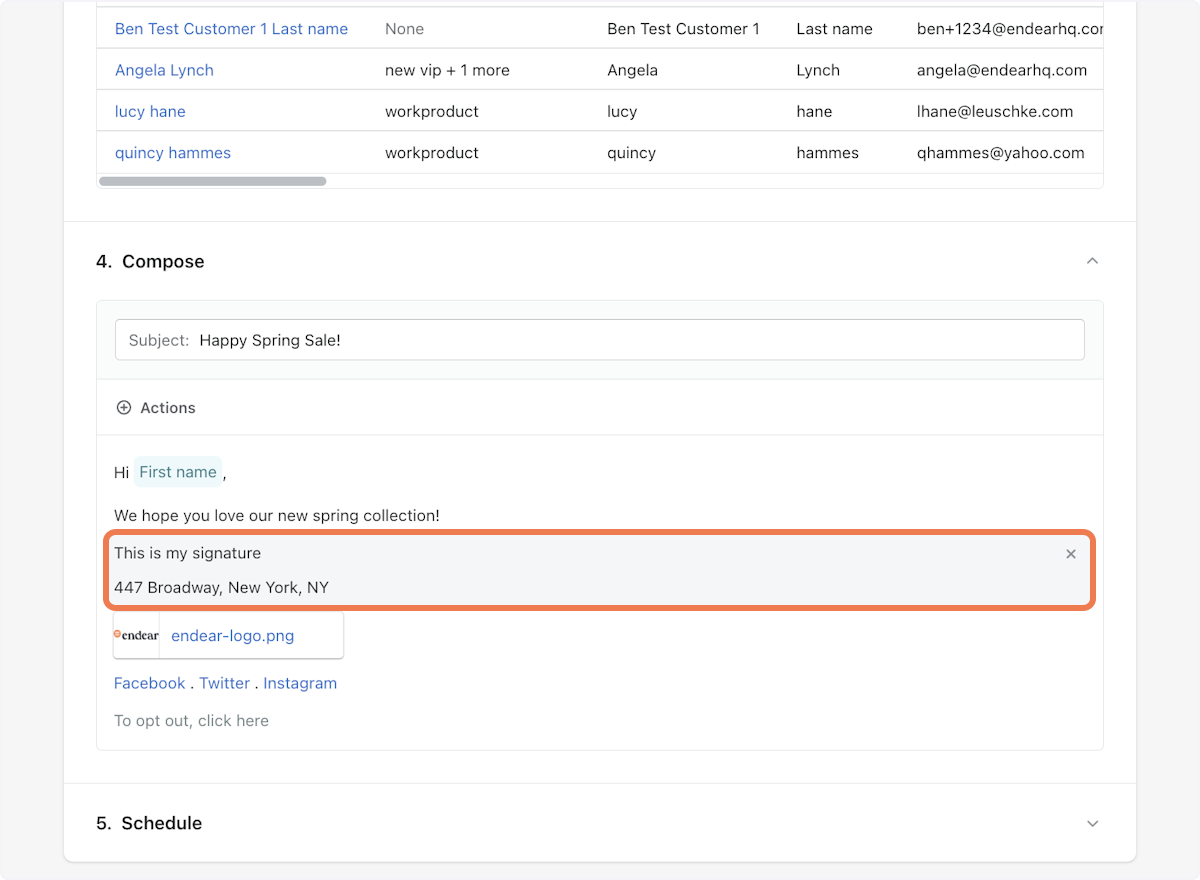
8. Compose your message. You can use the Insert button to add additional information like images and stories to your message.
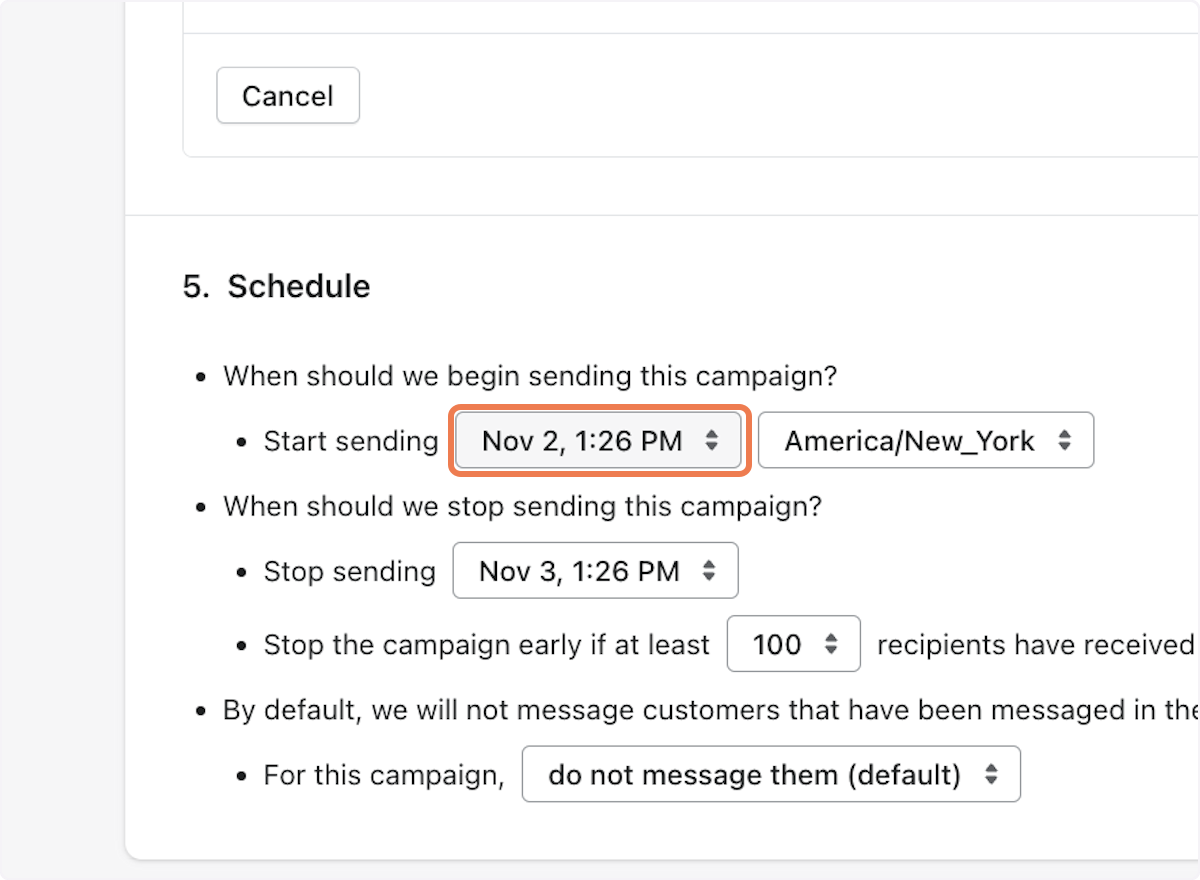
9. Schedule your campaign
You can determine when a campaign begins and ends. You can also limit how many customers receives a campaign.
One time Campaigns - Choose a start and stop time and how many recipients can receive the campaign before it stops.
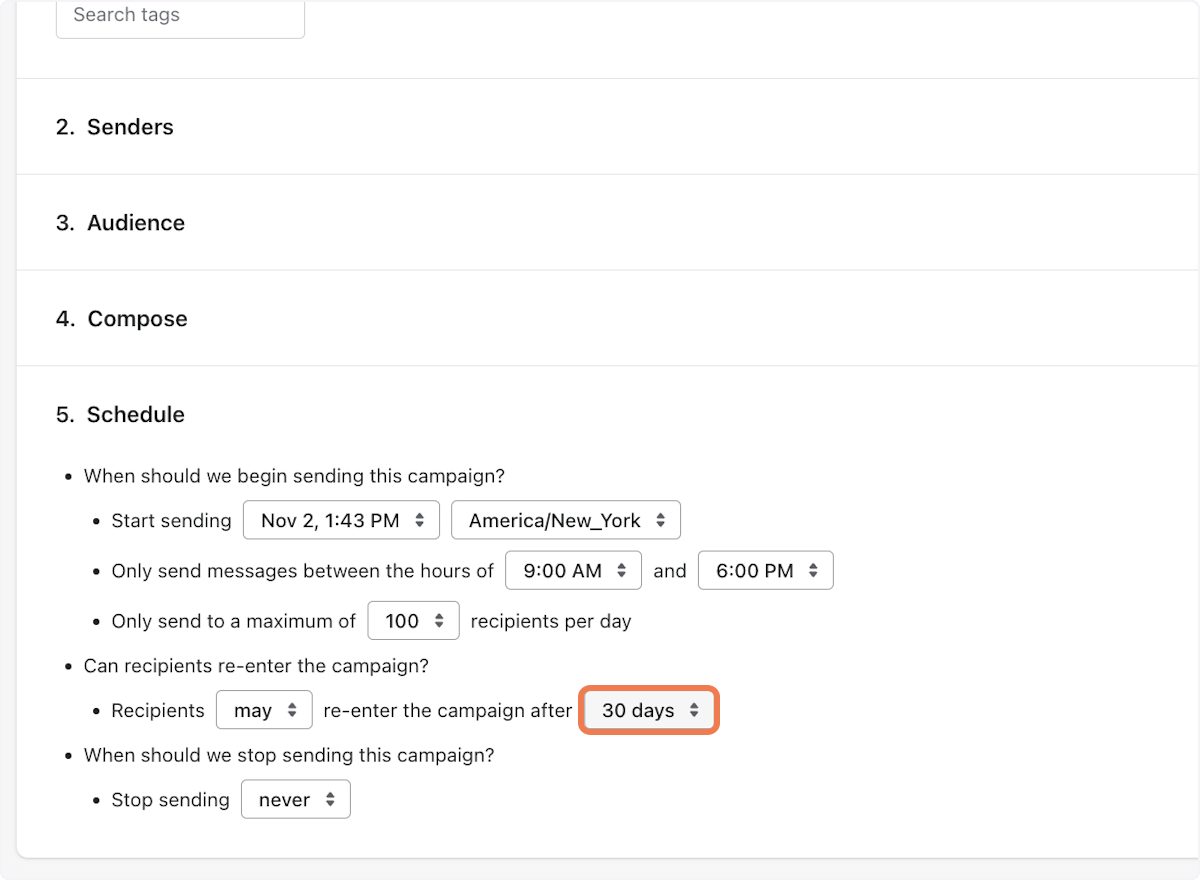
Recurring Campaigns - For recurring campaigns, you can also choose what time of day the Campaign tries to send messages.
Important Timezone Information: The timezone you set for your campaign schedule determines when messages are sent. This timezone should ideally align with your target audience's location through your audience filters. Note that Endear cannot track if customers are traveling, so messages will send based on the campaign's timezone setting.
💡 Tip: We analyzed hundreds of campaigns and found the most optimal times to send messages. Read more here.
You will also be given the option for customers to Re-Enter the Campaign after a certain period of time.
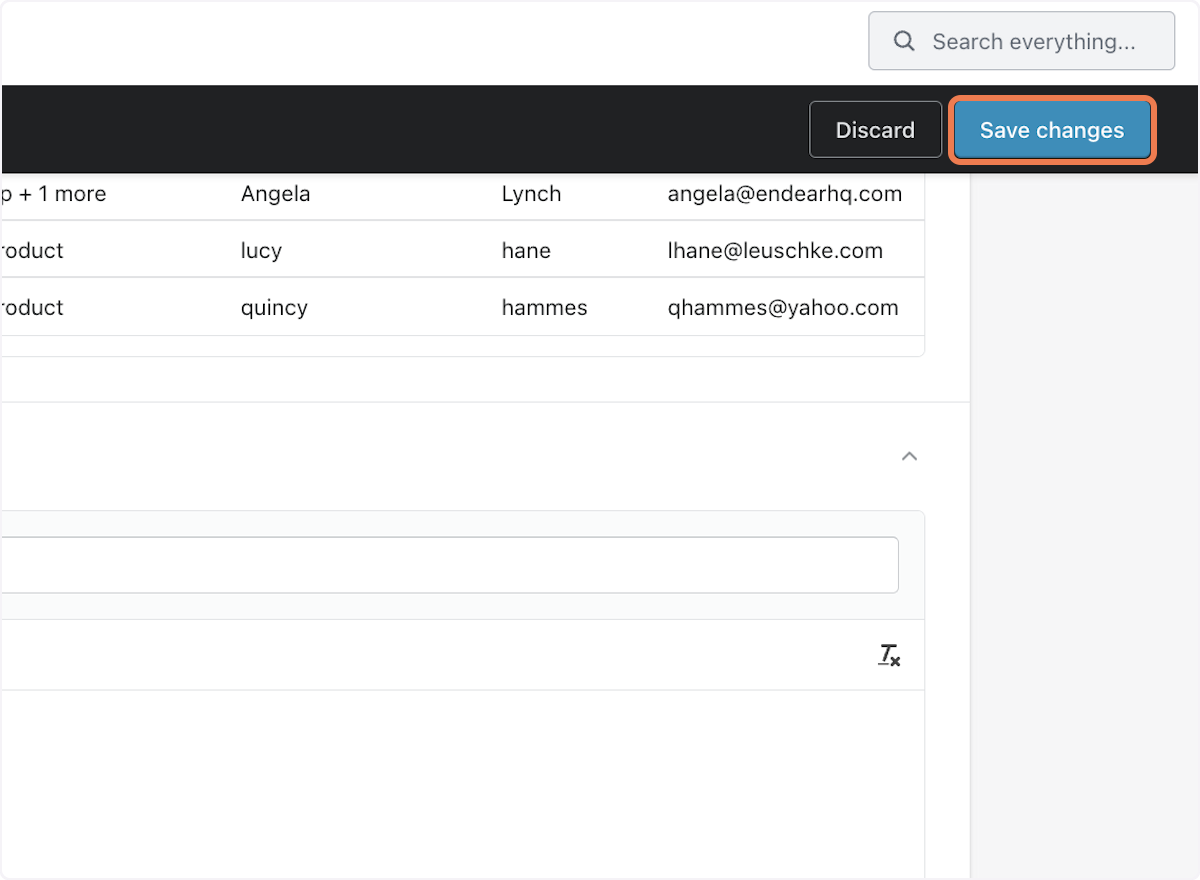
10. Select Save changes to preserve your campaign configuration.
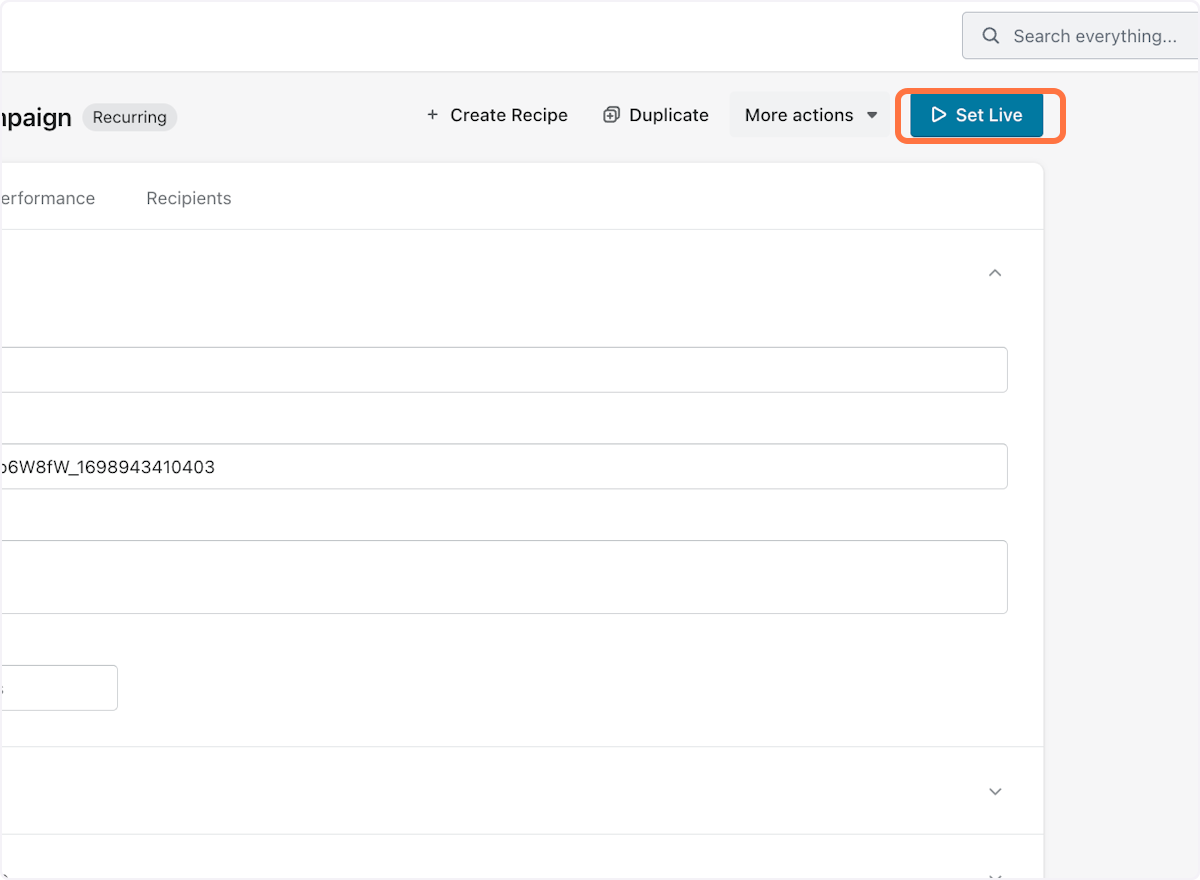
11. Select Set live to set your campaign live. You did it!
Still Need Help?
We are happy to assist you for more 1:1 direction. Reach out to our live chat!